




Opening a container at a port warehouse in Rotterdam, a logistics hub in Dubai, or a project site in Riyadh can reveal a costly surprise. The slabs resting on the A-frames look noticeably greyer, possess heavier veining, or feature a different surface gloss than the showroom sample approved months earlier.
For commercial towers in London, luxury hospitality fit-outs in Doha, or residential villa developments in Istanbul, discrepancies between delivered materials and approved samples create severe delays and budget overruns. Learning how to properly inspect natural stone slabs before confirming a natural stone bulk order protects project timelines and protects capital.
Whether you operate as a natural stone importer, a main contractor in Europe, or a developer sourcing natural stone slabs UAE and natural stone slabs Saudi Arabia, establishing a rigorous evaluation protocol is essential. This guide walks you through every stage of material verification, from initial preparation to final sign-off.
1. What to Prepare Before You Inspect Natural Stone Slabs
A successful evaluation begins long before you step foot inside a supplier’s warehouse or quarry yard. Preparation sets the baseline for what is acceptable and what constitutes a material defect.
Approved Samples and Reference Slabs
Always bring your signed and reference-tagged control samples to the inspection site. Natural stone is a product of the earth, meaning natural variations occur across quarries and mountain layers.
Your sample acts as the legally and commercially binding benchmark for colour range, crystal structure, and background tone. Without an approved physical sample, disputing a delivery with a natural stone supplier becomes virtually impossible.
Purchase Specifications and Agreed Tolerances
Review your purchase contract before starting the physical check. Ensure the documentation outlines exact dimensions, required finishes, and permitted stone slab thickness tolerance thresholds.
Different applications demand different tolerances. Clendifor facade cladding or interior flooring in European commercial hubs requires far tighter calibration than loose outdoor paving in the wider natural stone Middle East region.
Block and Lot Numbers and Technical Dossiers
Request the block and lot numbers associated with your order before inspection day. Reputable quarries and distributors group slabs cut from the same geological block together.
Checking that your entire order originates from matching or sequential blocks is the single best way to guarantee uniform veining. Ask for quarry origin certificates and any available petrographic analysis reports.
2. Visual Inspection: Colour, Veining, Finish, and Surface Defects
Visual evaluation requires the right lighting and environmental conditions. Direct, natural daylight is ideal; artificial warehouse lighting with yellow casts can mask true colour tones.
Assessing Shade Variation and Veining Direction
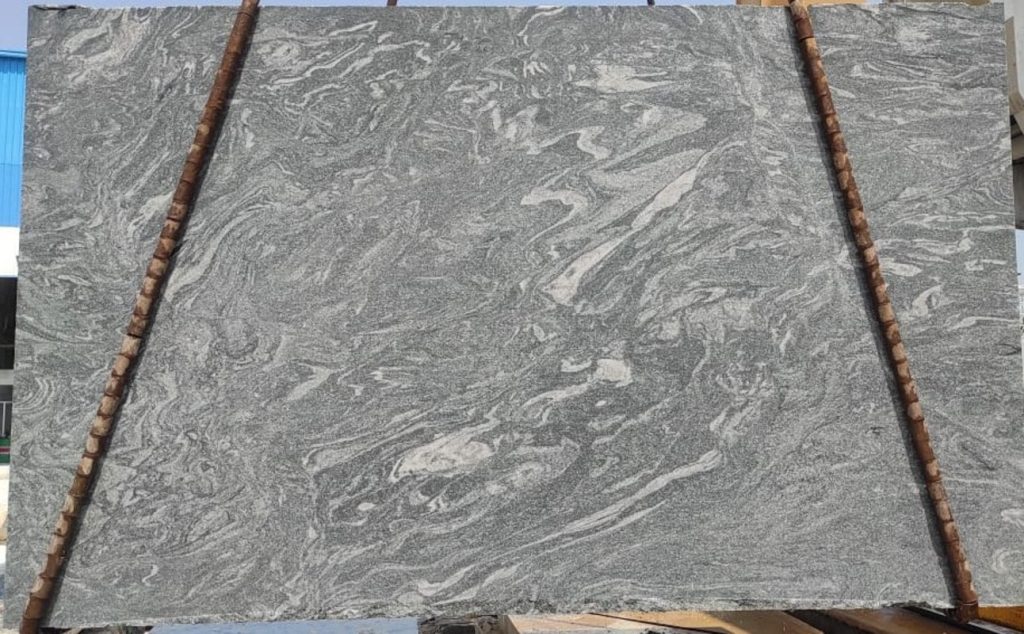
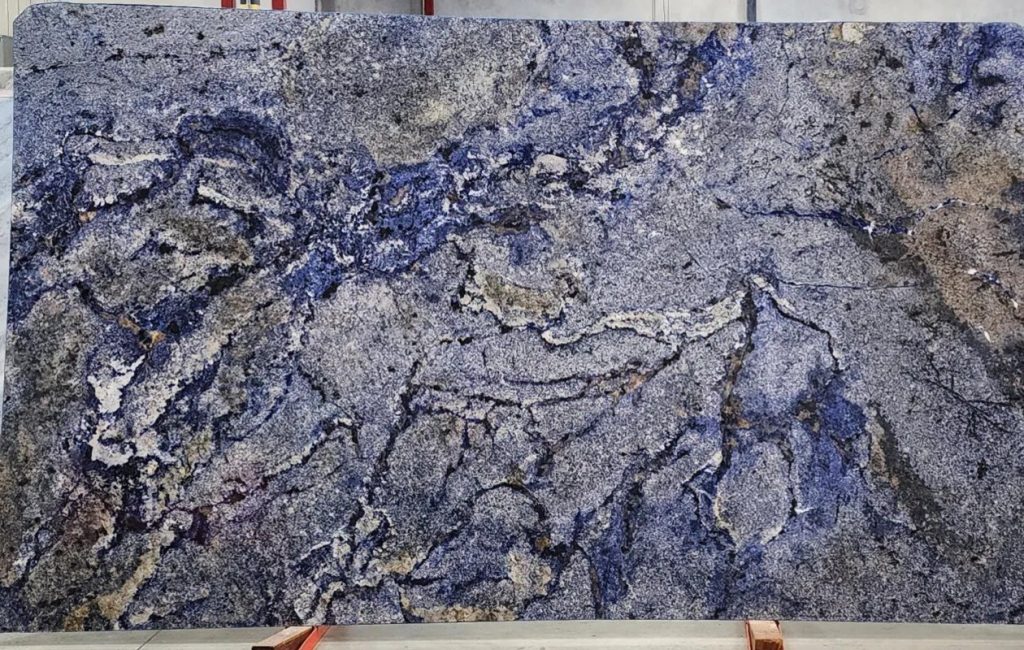
Examine multiple bundles side by side to evaluate stone slab shade variation. Quartzite slabs and bulk marble slabs often display dramatic shifts in background hue from one bundle to the next.
Pay close attention to veining direction, especially if your project requires bookmatching for feature walls in hotel lobbies or master bathrooms. If the veining runs horizontally in one bundle and vertically in another, fabrication on-site will slow down significantly.
Evaluating Surface Finishes (Polished, Honed, Leathered)
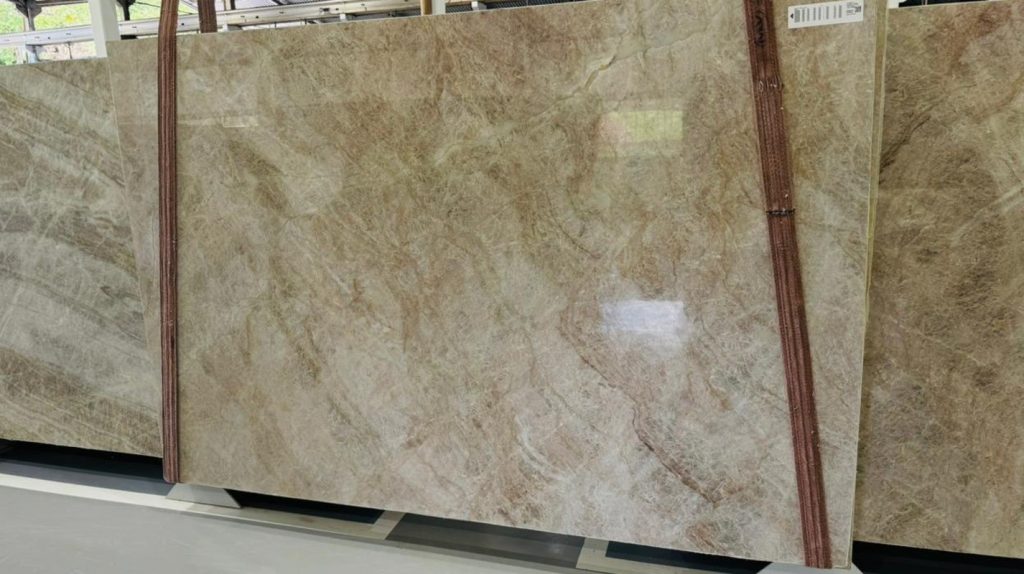
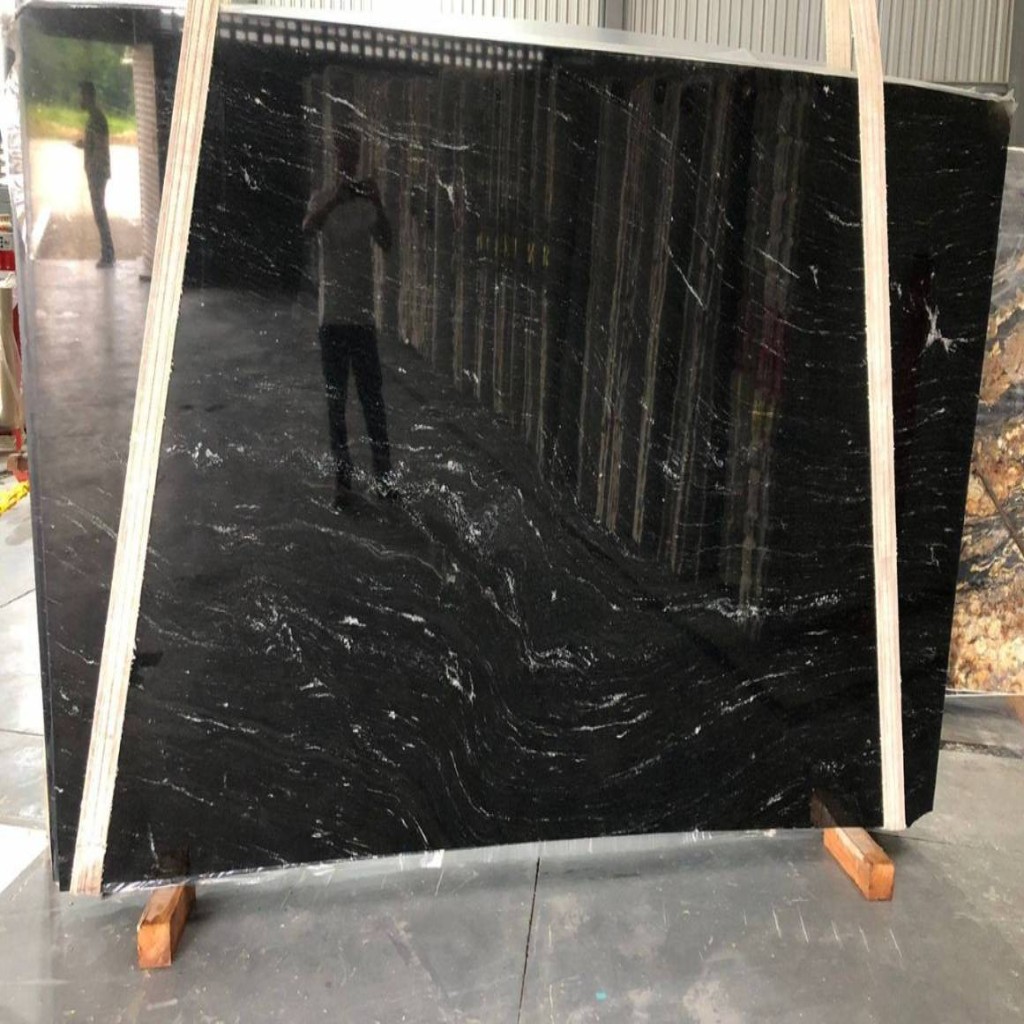
Check the consistency of the surface finish across every slab. A polished finish must show a uniform, mirror-like reflection without hazy patches or uneven gloss units.
For honed, flamed, or leathered surfaces, ensure the texture depth feels uniform across the entire surface. Inconsistent brushing or abrasion points to uneven mechanical processing at the factory.
Identifying Acceptable Fissures versus Structural Cracks
Not all linear marks on a slab are structural failures. Natural stone naturally contains fine, tight fissures, particularly in calcitic marbles and certain travertine slabs and limestone slabs.
However, open fractures, unhealed cracks, or unstable breaks are immediate grounds for rejection. If a crack runs through the middle of a slab destined for a kitchen countertop or stair tread, the piece will fail under load.
3. Technical Checks: Thickness, Flatness, Dimensions, and Absorption
Visual appeal means little if the stone lacks the technical integrity required for your specific architectural application.
Measuring Thickness Tolerances and Slab Flatness
Use digital callipers to measure slab thickness at all four corners and the exact centre. Standard commercial slabs typically arrive in thickness profiles such as 20 mm or 30 mm, but manufacturing deviations do happen.
Check slab flatness by laying a straightedge across the diagonal face. Bowing or warping occurs when incorrect resin treatments or improper drying take place during processing.
Understanding Water Absorption and Material Density
Climate dictates how material performance translates to the real world. In colder parts of Europe subject to winter frost, high water absorption in porous limestone or poorly sealed granite slab inspection profiles leads to freeze-thaw cracking.
Conversely, in the intense heat and coastal humidity of the natural stone GCC market, stone with high porosity can suffer from salt crystallisation and efflorescence if left unsealed. Review test figures for density and porosity before finalizing your procurement.
4. Inspecting a Bulk Order: Sampling, Packing, and Third-Party Inspection
Inspecting hundreds of square metres requires a structured sampling methodology and a careful review of logistics protection.
Determining Sample Sizes Across Bundles
You cannot inspect every single slab in a large commercial order, so agree on a reliable sampling plan beforehand. A common industry benchmark is inspecting a minimum of 10% to 20% of total slabs, spread evenly across all packed bundles.
If defects or high shade variations appear within that sample size, expand the inspection to 100% of the lot before granting approval.
Evaluating Crating, A-Frames, and Sea Freight Risks
Long-distance sea freight places immense physical stress on stone shipments moving from quarries to ports in Europe and the Gulf. Inspect the wooden A-frames, Fumigation stamps (ISPM 15 compliance), and edge protectors.
Ensure slabs are separated by dense foam or plastic film to prevent scratching, and check that strapping is tight enough to prevent shifting during rough ocean transits.
Managing Remote Video Checks and Third-Party Inspectors
When international travel is impractical, appoint an independent stone slab quality control inspector based near the supplier’s yard. Request live high-definition video walkthroughs where the inspector points a flashlight across wet and dry slab surfaces.
Wet testing is particularly useful because water temporarily darkens the stone, revealing hidden micro-fissures, resin repairs, and patch jobs that remain invisible on dry dust-covered surfaces.
5. Approving the Order: Documentation, Payment Terms, and Avoiding Disputes
The inspection process concludes with formal paperwork that legally protects your commercial interests.
Securing Inspection Sign-Offs and Release Notes
Once the pre-shipment inspection stone evaluation satisfies your quality criteria, issue a formal inspection certificate or release note. Both your representative and the natural stone supplier must sign this document.
Attach photographic evidence of the inspected bundles, recording the specific bundle numbers cleared for container loading.
Aligning Payment Milestones with Quality Milestones
Structure your commercial contracts so that the final balance payment is contingent upon successful inspection sign-off. Never release 100% payment before the stone leaves the origin warehouse.
Maintaining a retention percentage until the container arrives at your destination warehouse provides vital leverage if transit damage occurs.
Managing Discrepancies and Resolution Protocols
If your inspection reveals widespread shade variations, chipped edges, or out-of-tolerance dimensions, do not accept the entire lot. Document every defective slab with clear photographs featuring a scale ruler.
Require the supplier to replace non-compliant pieces with matching material from the same geological block before container loading begins.
Practical Natural Stone Slab Inspection Checklist
Save or screenshot this step-by-step natural stone slab inspection checklist to use during your next yard visit or pre-shipment audit:
- Documentation Check: Verify block numbers, lot numbers, quantity (m²), and agreed purchase specifications against the contract.
- Lighting Setup: Position slabs in natural daylight or use portable high-CRI work lights to evaluate true surface colour.
- Dry and Wet Testing: Inspect slabs dry first, then wet a representative section to uncover hidden micro-fissures, resin lines, and patches.
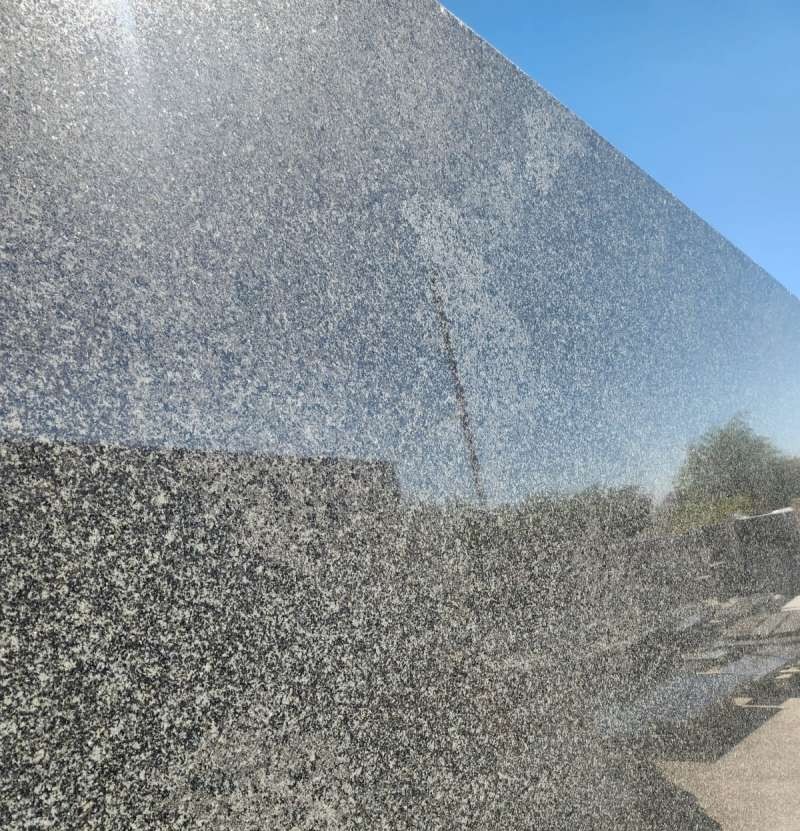
- Surface Finish Review: Check gloss consistency on polished surfaces or texture uniformity on honed, leathered, and polished granite slabs.
- Dimensional Calibration: Measure length, width, and diagonal squareness, ensuring compliance with specified tolerances.
- Thickness Verification: Use digital callipers at all four corners and the centre point.
- Structural Integrity Check: Inspect edges, corners, and backing meshes for cracks, deep pitting, or weak resin reinforcement.
- Bundle Sampling: Inspect at least 10–20% of the total slabs across different bundles to catch batch inconsistencies early.
- Packaging Audit: Confirm robust wooden crating, proper inter-slab padding, and secure A-frame stability for long-distance shipping.
Red Flags to Watch For
- Mixed Blocks in One Bundle: Slabs displaying wildly different background tones or veining patterns bundled together under a single lot number.
- Excessive Resin Filling: Heavy, opaque colour-matched epoxy masking large natural pits or structural weaknesses across major surface areas.
- Edge Chipping and Corner Damage: Poor handling or inadequate edge protection indicating rough transit risks.
- Missing Test Reports: Suppliers unable or unwilling to provide certified laboratory data for water absorption, density, and flexural strength.
- Sub-standard Mesh Backing: Flimsy or peeling fibreglass mesh on the rear of brittle marble or travertine, suggesting weak structural integrity.
Conclusion
Inspecting natural stone slabs before confirming a bulk order is not merely a box-ticking exercise; it is a critical commercial safeguard. By enforcing strict preparation, systematic visual and technical checks, and rigorous documentation, procurement teams across Europe, the Gulf, and the wider Middle East can eliminate costly site delays. Whether you are sourcing fine Italian marbles, durable Portuguese limestones, or resilient natural stones in the Europe and Middle Eastern projects rely on, proactive quality control guarantees a flawless architectural finish.
Ready to secure your next project with total confidence? Contact our team today to request a quote, discuss your project specifications, or ask about our expert stone inspection support services.

Leave a Reply